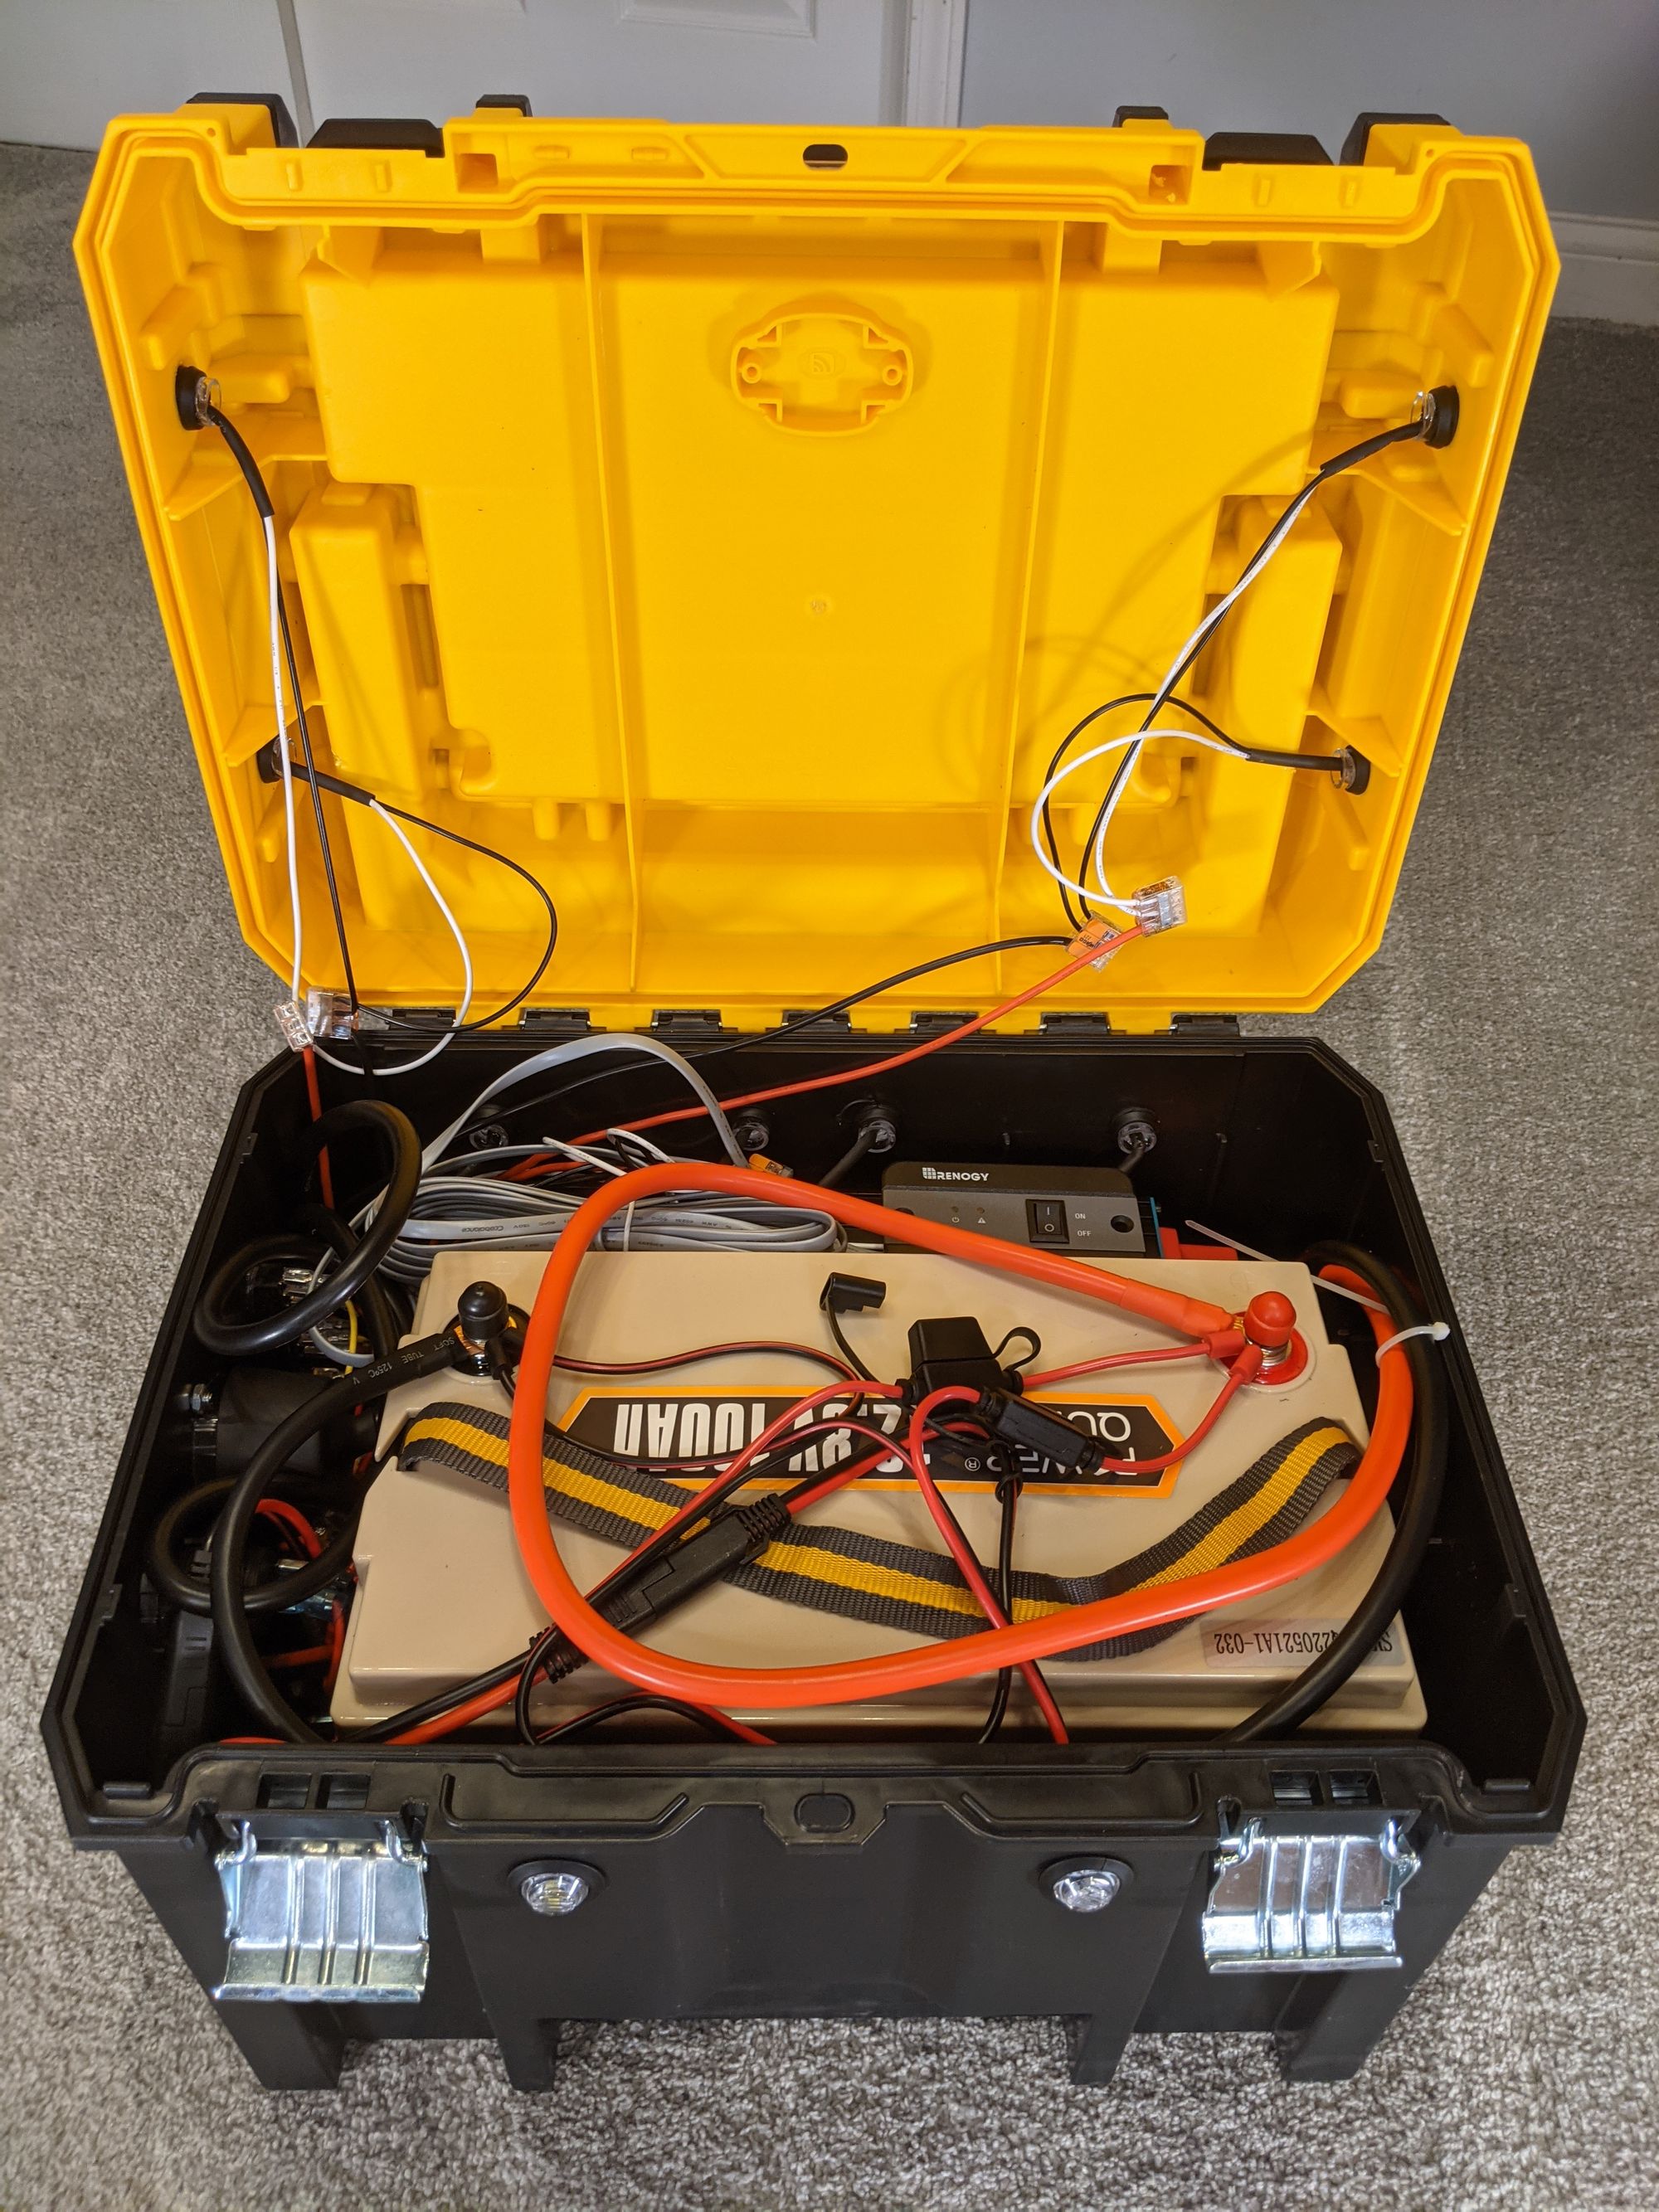
DIY Portable Power Station

This past summer, thunderstorms interrupted our rural electric service several times for several hours at a time. If we are out of electric for only a few hours, it can be an enjoyable recess from the distractions of life. However, when you have mission-critical electrical needs, a power outage becomes less enjoyable.
Most of the gear that I wanted to stay online (fiber modem, router, weather station) were already on UPS units, though through many of the extended outages these devices eventually went down. My brother Michael's hobby at the time was hatching and raising bobwhite quail, and his incubator had to stay up to temperature if the quail inside were to live. If the power remained out for more than an hour, we had to break out the gasoline generator. Hauling the generator out of the shed, filling it up, running extension cords, and hoping you can get it to start is not enjoyable, especially at 3 AM in the middle of a storm.
After this happened several times, I started researching this project. It turned out, Michael had already considered building his own power box before. He was able to point me to Ice Hole Power, who has many videos testing batteries and assembling power boxes. Ice Hole Power's videos were crucial in explaining the ins-and-outs of lithium batteries and power box construction.
Unlike many basic power box builds, I used a large LiFePO4 battery with an inverter in order to provide power to 120 V devices for an extended period of time. This build is not inexpensive, but it is built to last. The Power Queen battery I chose is rated for 4000+ full discharge/charge cycles, so even if you drain the battery fifty times a year, it could theoretically last your entire lifetime.
| Materials Used | |
|---|---|
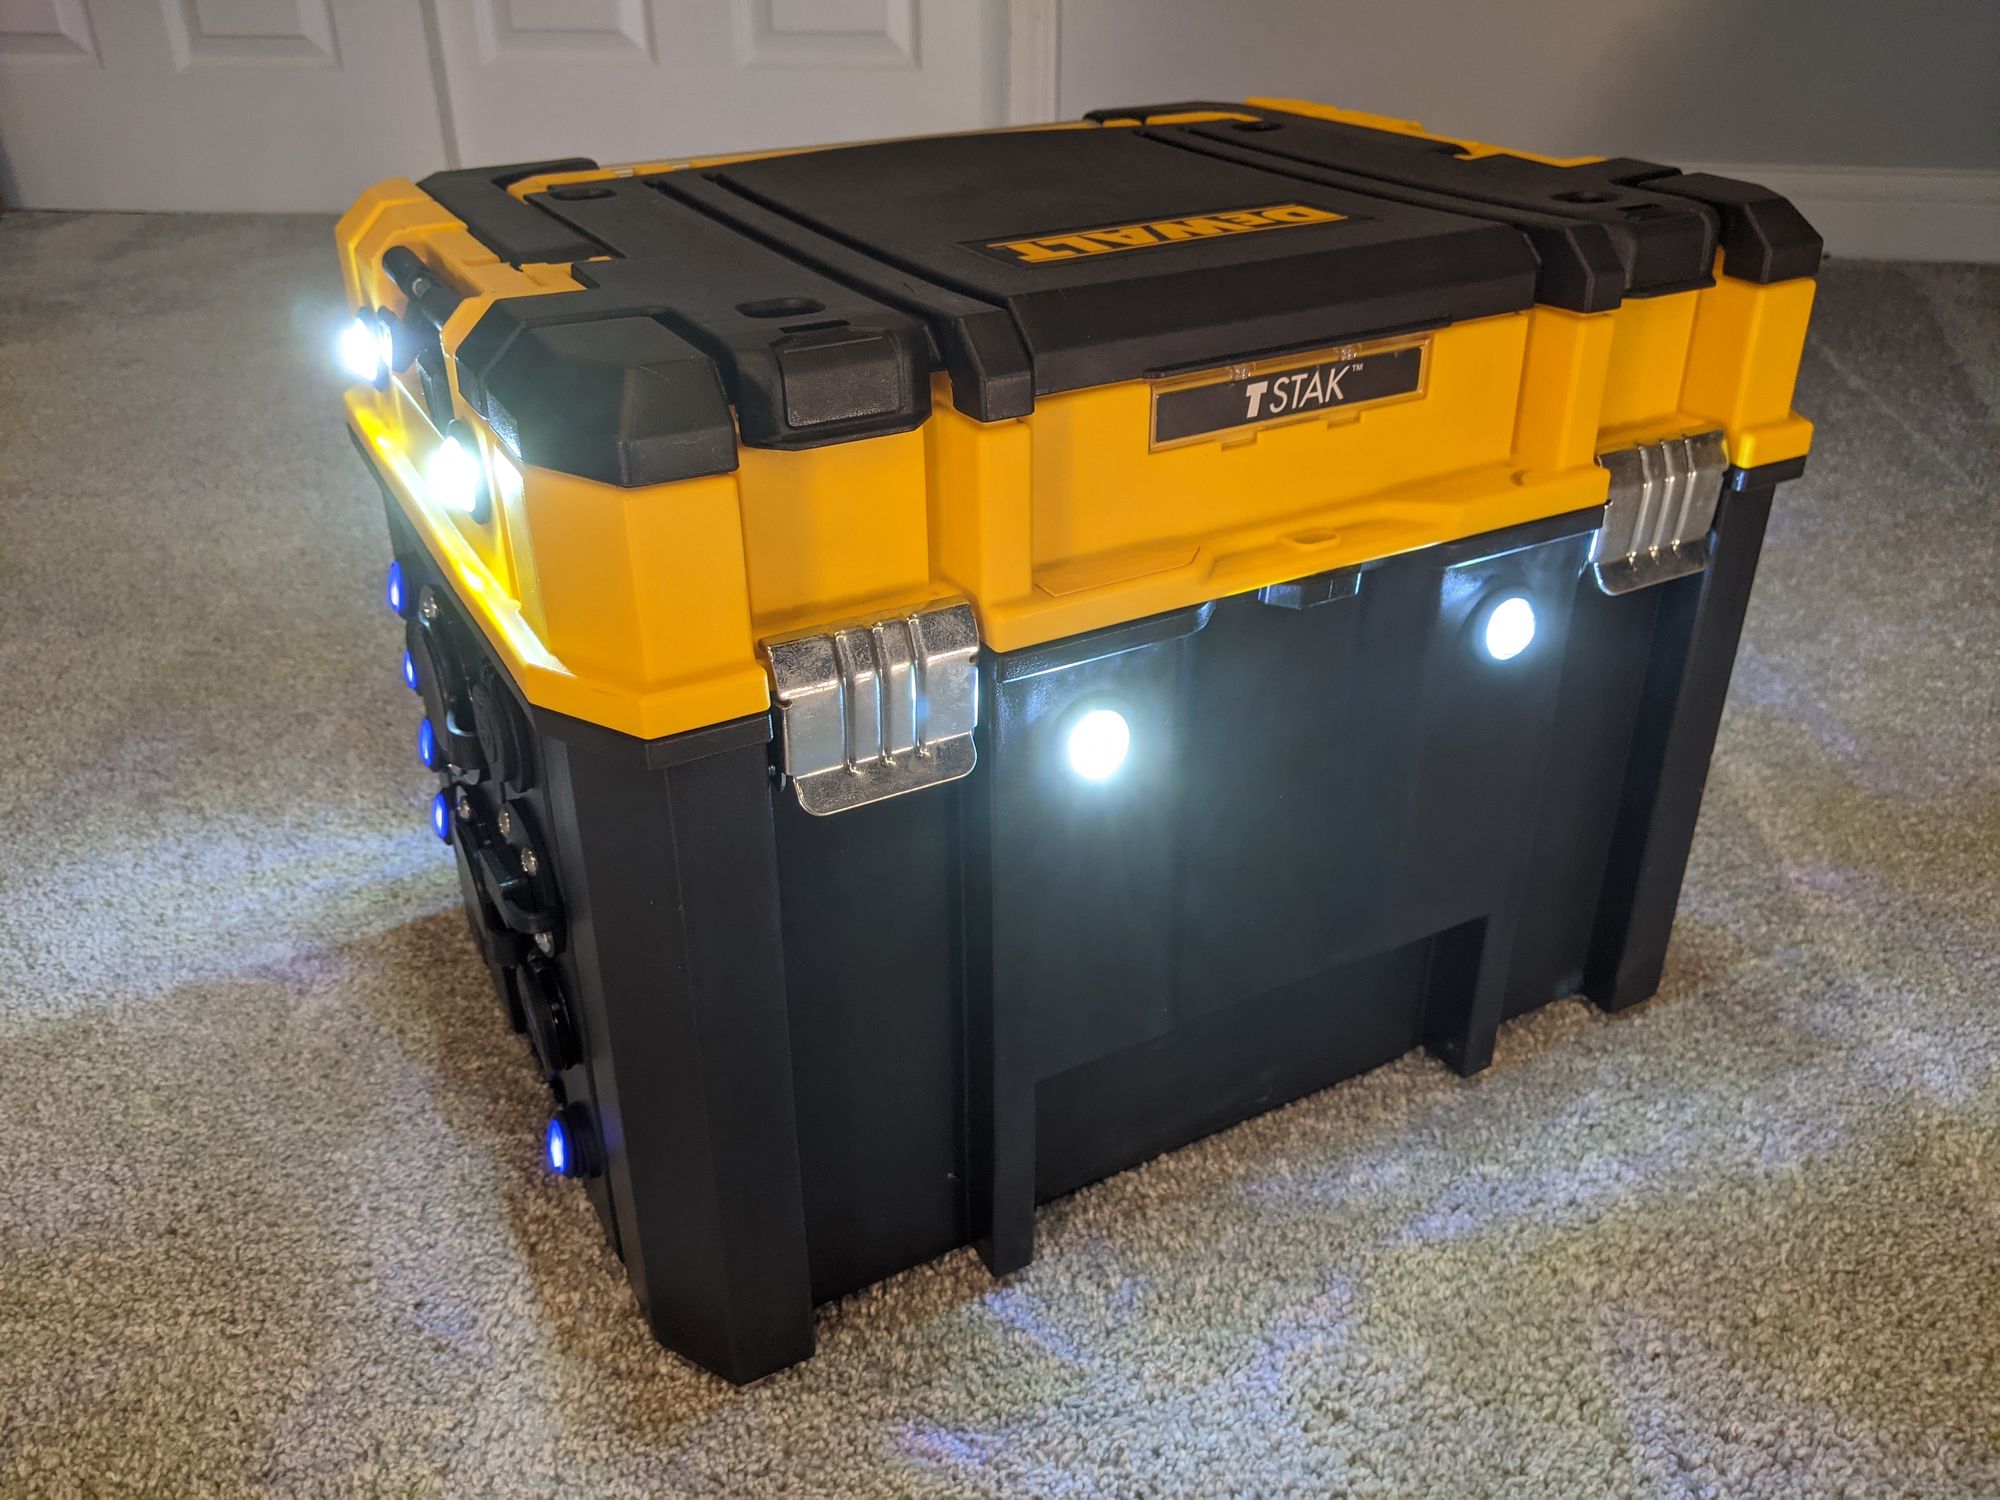
| DeWalt Tstak Toolbox | $40 |
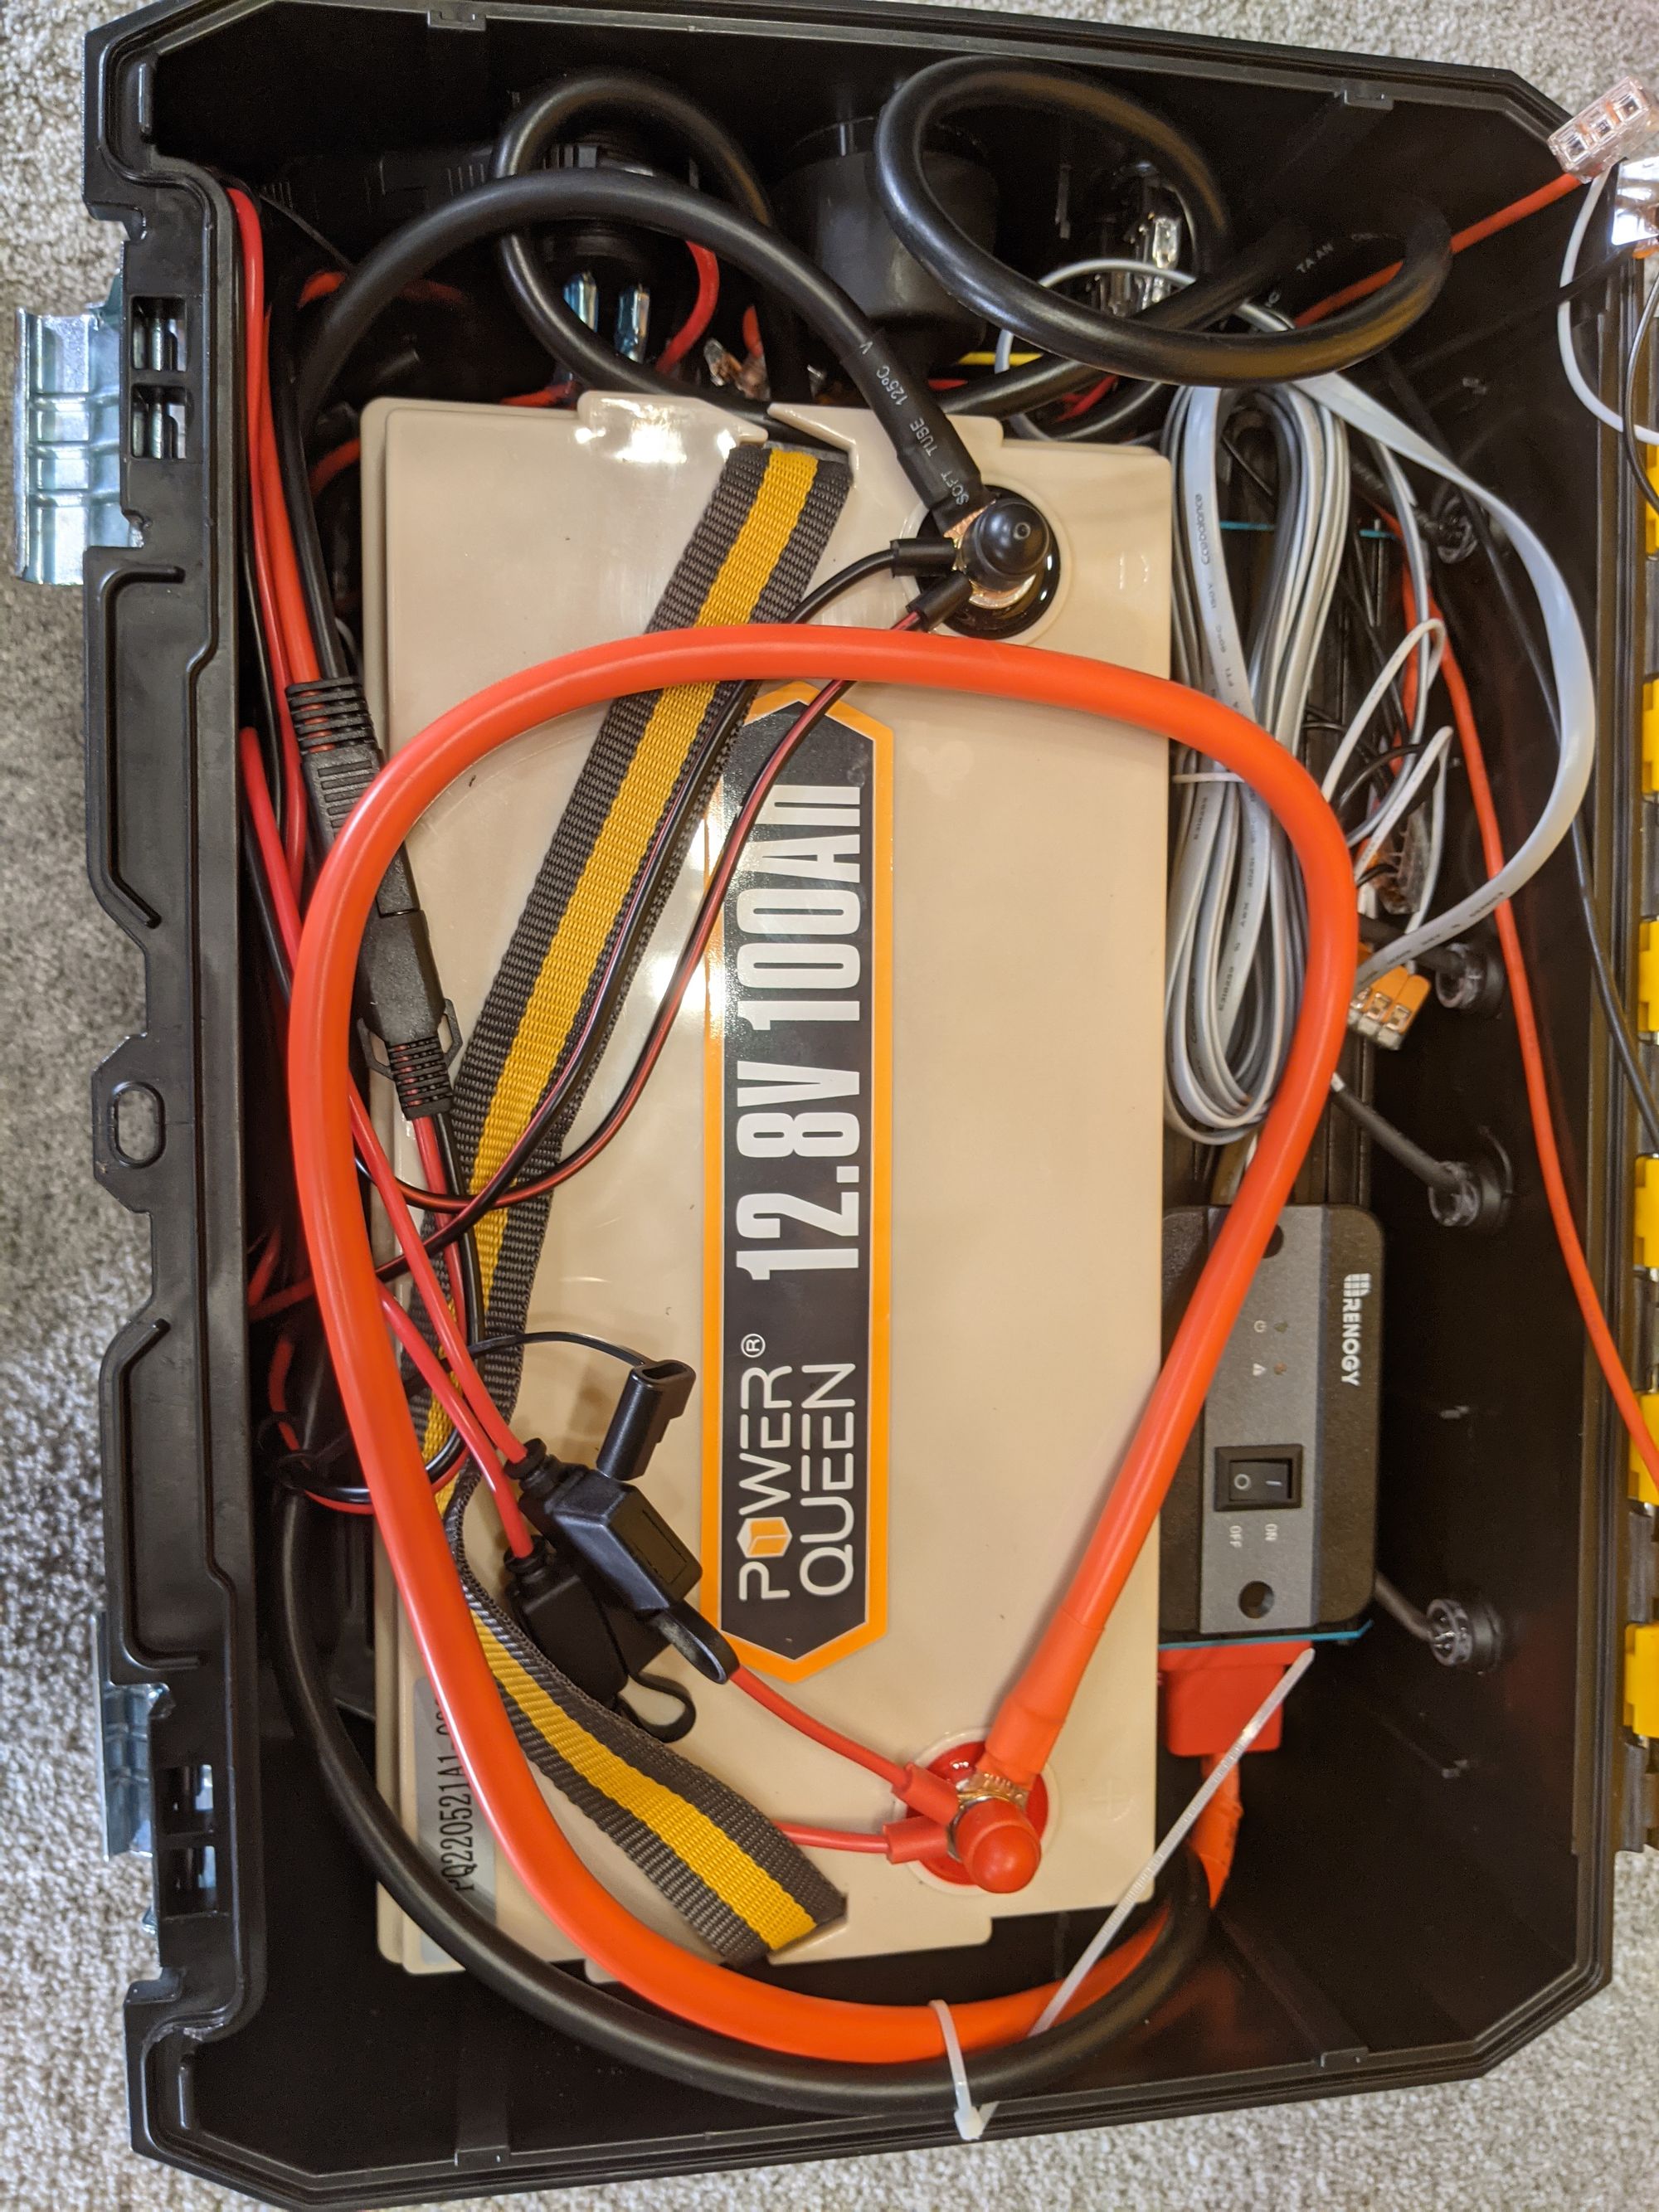
| Power Queen 12V 100 Ah LiFePO4 | $339 |
| NOCO Genius 5 Charger | $70 |
| NOCO X-Connect to SAE Adapter | $8 |
| Renogy 1000W Pure Sine Wave Inverter | $160 |
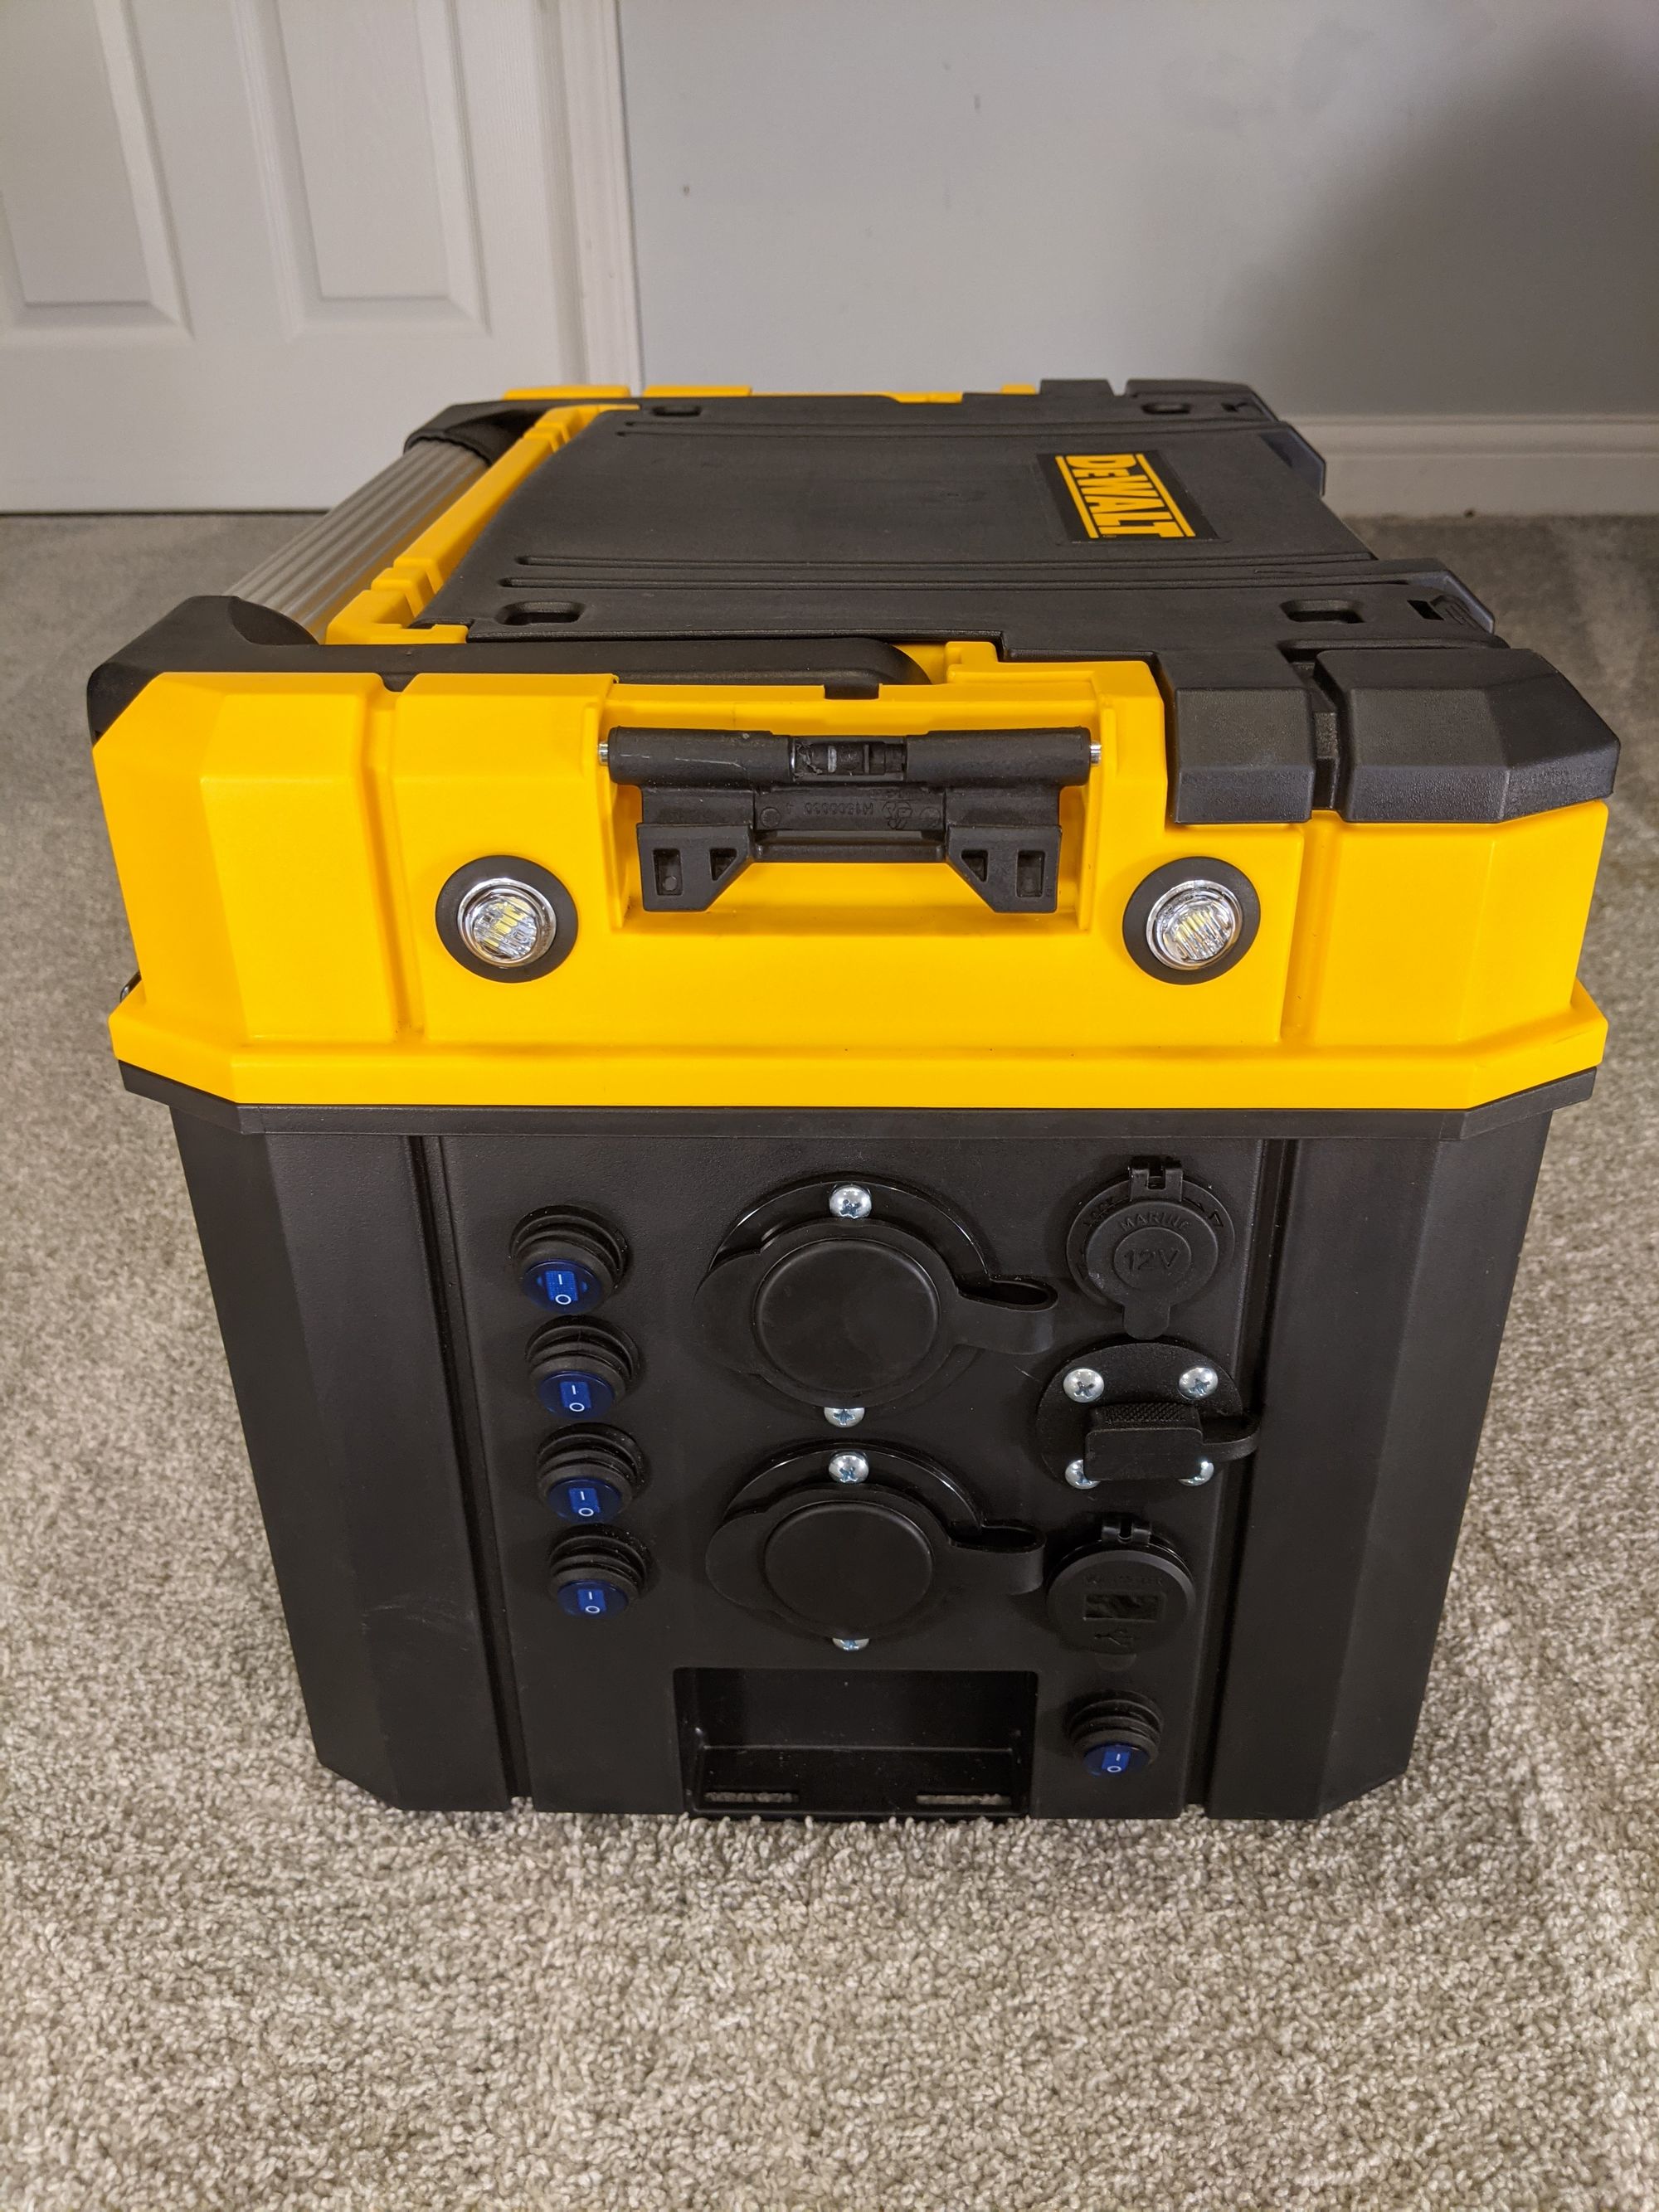
| Journeyman Pro Outdoor Power Outlet, x2 | $48 |
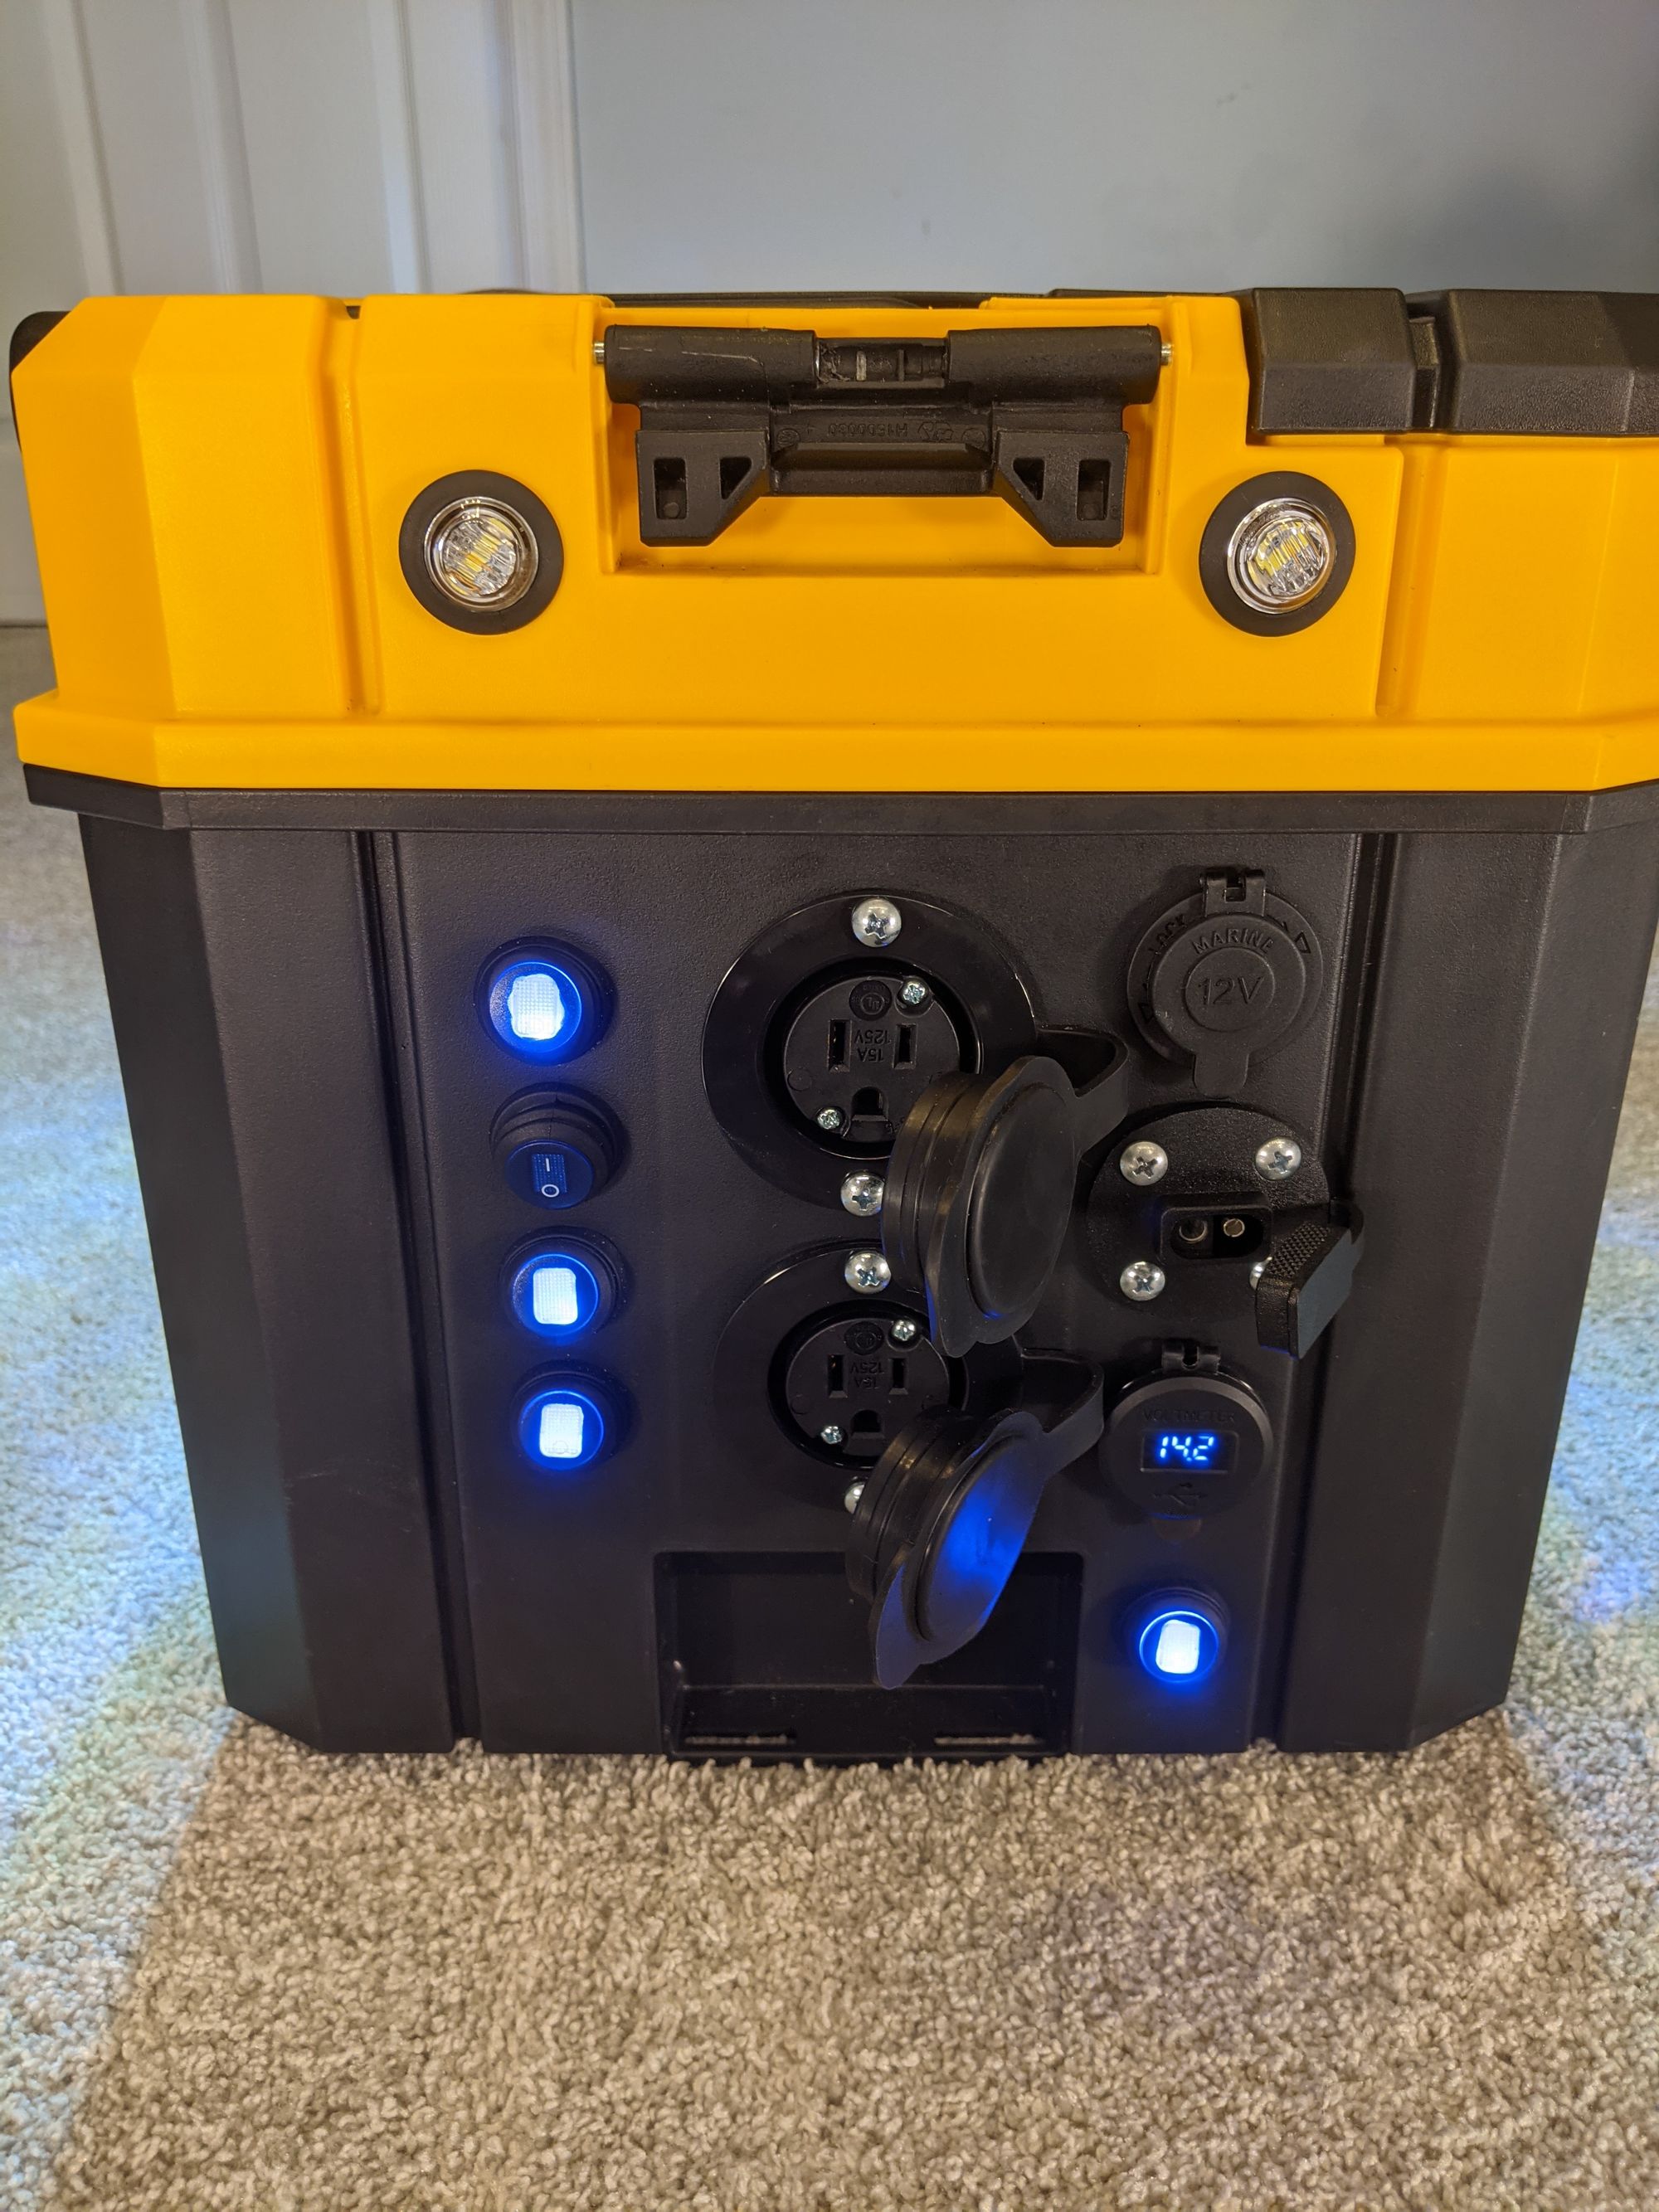
| Blue LED Waterproof Toggle Switches | $10 |
| Waterproof LED Boat Lights | $11 |
| 12V Socket, USB Ports, and Voltmeter | $18 |
| Waterproof SAE Port | $16 |
| Battery terminals to SAE cable | $11 |
| 12" SAE Cables | $14 |
| SAE Polarity Adapter | $7 |
| Total | |
| $752 |
Links above are Amazon affiliate links
Choosing a Battery
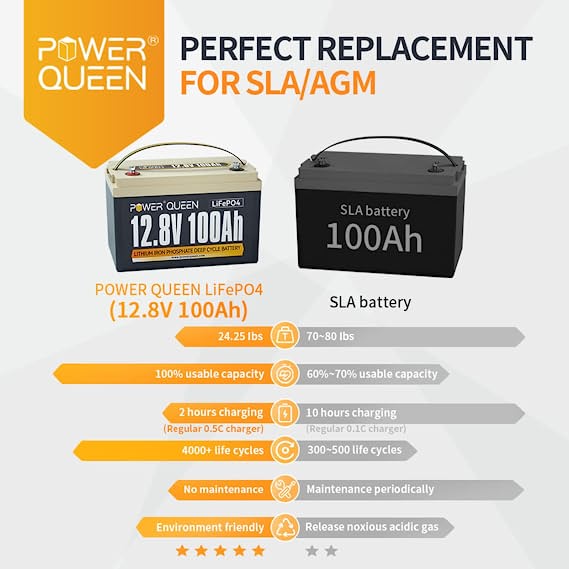
Battery Chemistry, Capacity, and Build Quality
The battery is at the core of any power box, but it can be pretty intimidating to research. First, there is the difference in battery chemistry. It may be tempting to resort to a cheaper solid lead acid (SLA) battery. An SLA battery with a similar capacity can be over 2.5x cheaper than their lithium iron phosphate (LiFePO4) counterparts. I decided to stick with LiFePO4 because they are substantially lighter, have a long lifespan, and a greater usable capacity.
Power Queen has never paid me a dime, but their comparison graphic compares the two battery chemistries well.
To determine the runtime of the different battery capacities, just use this simple equation.
(battery capacity in Wh) = VI * (time in hours)
To determine the runtime of a 1.5 A load at 120 V AC on my 1280 Wh battery, neglecting any losses in the inverter:
1280 Wh = (120V)(1.5A) * (time in hours)
(1280 Wh)/((120V)(1.5A)) = 7.1 hours
Or to determine the runtime of a 1.5 A load at 12 V DC:
1280 Wh = (12V)(1.5A) * (time in hours)
(1280 Wh)/((12V)(1.5A)) = 71.1 hours
Once you've settled on the LiFePO4 chemistry and capacity, you'll need to settle on a model. There are many different batteries on Amazon, but they are not all made equally! Before you buy a battery, be sure to check out the Ice Hole Power teardown to make sure its safety features work and its capacity matches the label on the battery. Below is the teardown he did of the Power Queen battery that I purchased.
Choosing an Inverter
Pure Sine vs Modified Sine Waves, Maximum Power Output
If you won't need to run any AC devices, you won't need an inverter and can skip this step.
There are a few factors you'll need to consider when choosing the inverter. First, you may be tempted to buy any cheap inverter on Amazon. These cheaper devices tend to be modified sine wave inverters, which produce alternating current (AC) using a square waves and thus supply "dirtier" power.
This Renogy graphic (not a paid endorsement) from the product description of the unit I purchased provides a useful visual comparison.
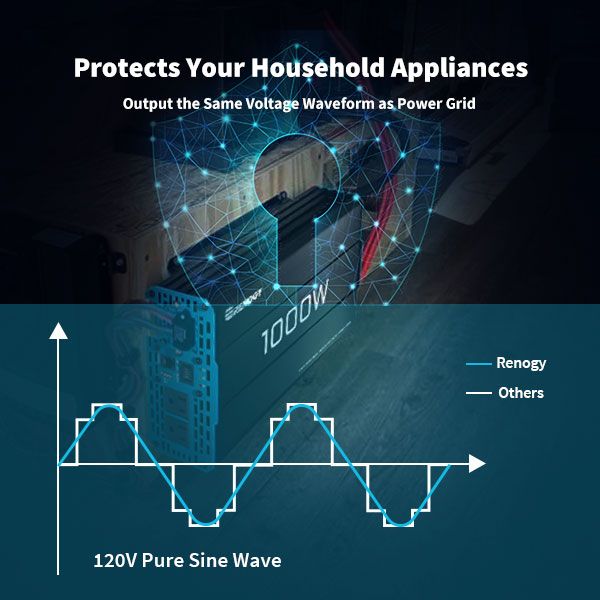
This "dirty" power may work fine for your purposes, but it is hard on many electronics, especially those with AC motors (refrigerators, microwaves) or other devices with sensitive circuitry (including TV's, CPAP machines, and more).
For this reason, I opted for the pure sine wave inverter. Running a refrigerator or freezer during an extended outage or running a TV outdoors somewhere were two situations I wanted to be prepared for. The pure sine wave inverter was over 2.5x more expensive that its modified sine wave counterpart, but I didn't want to risk damaging anything.
You'll also need to consider how much power you may want to pull from the inverter at a time. With the 1000 W inverter I purchased, I won't be able to run a full size refrigerator, heavy power tools, or other power hungry devices. I considered buying a larger 2000 W unit, but the 2000 W unit was so large that it wasn't going to fit in my box and it would have further reduced portability.
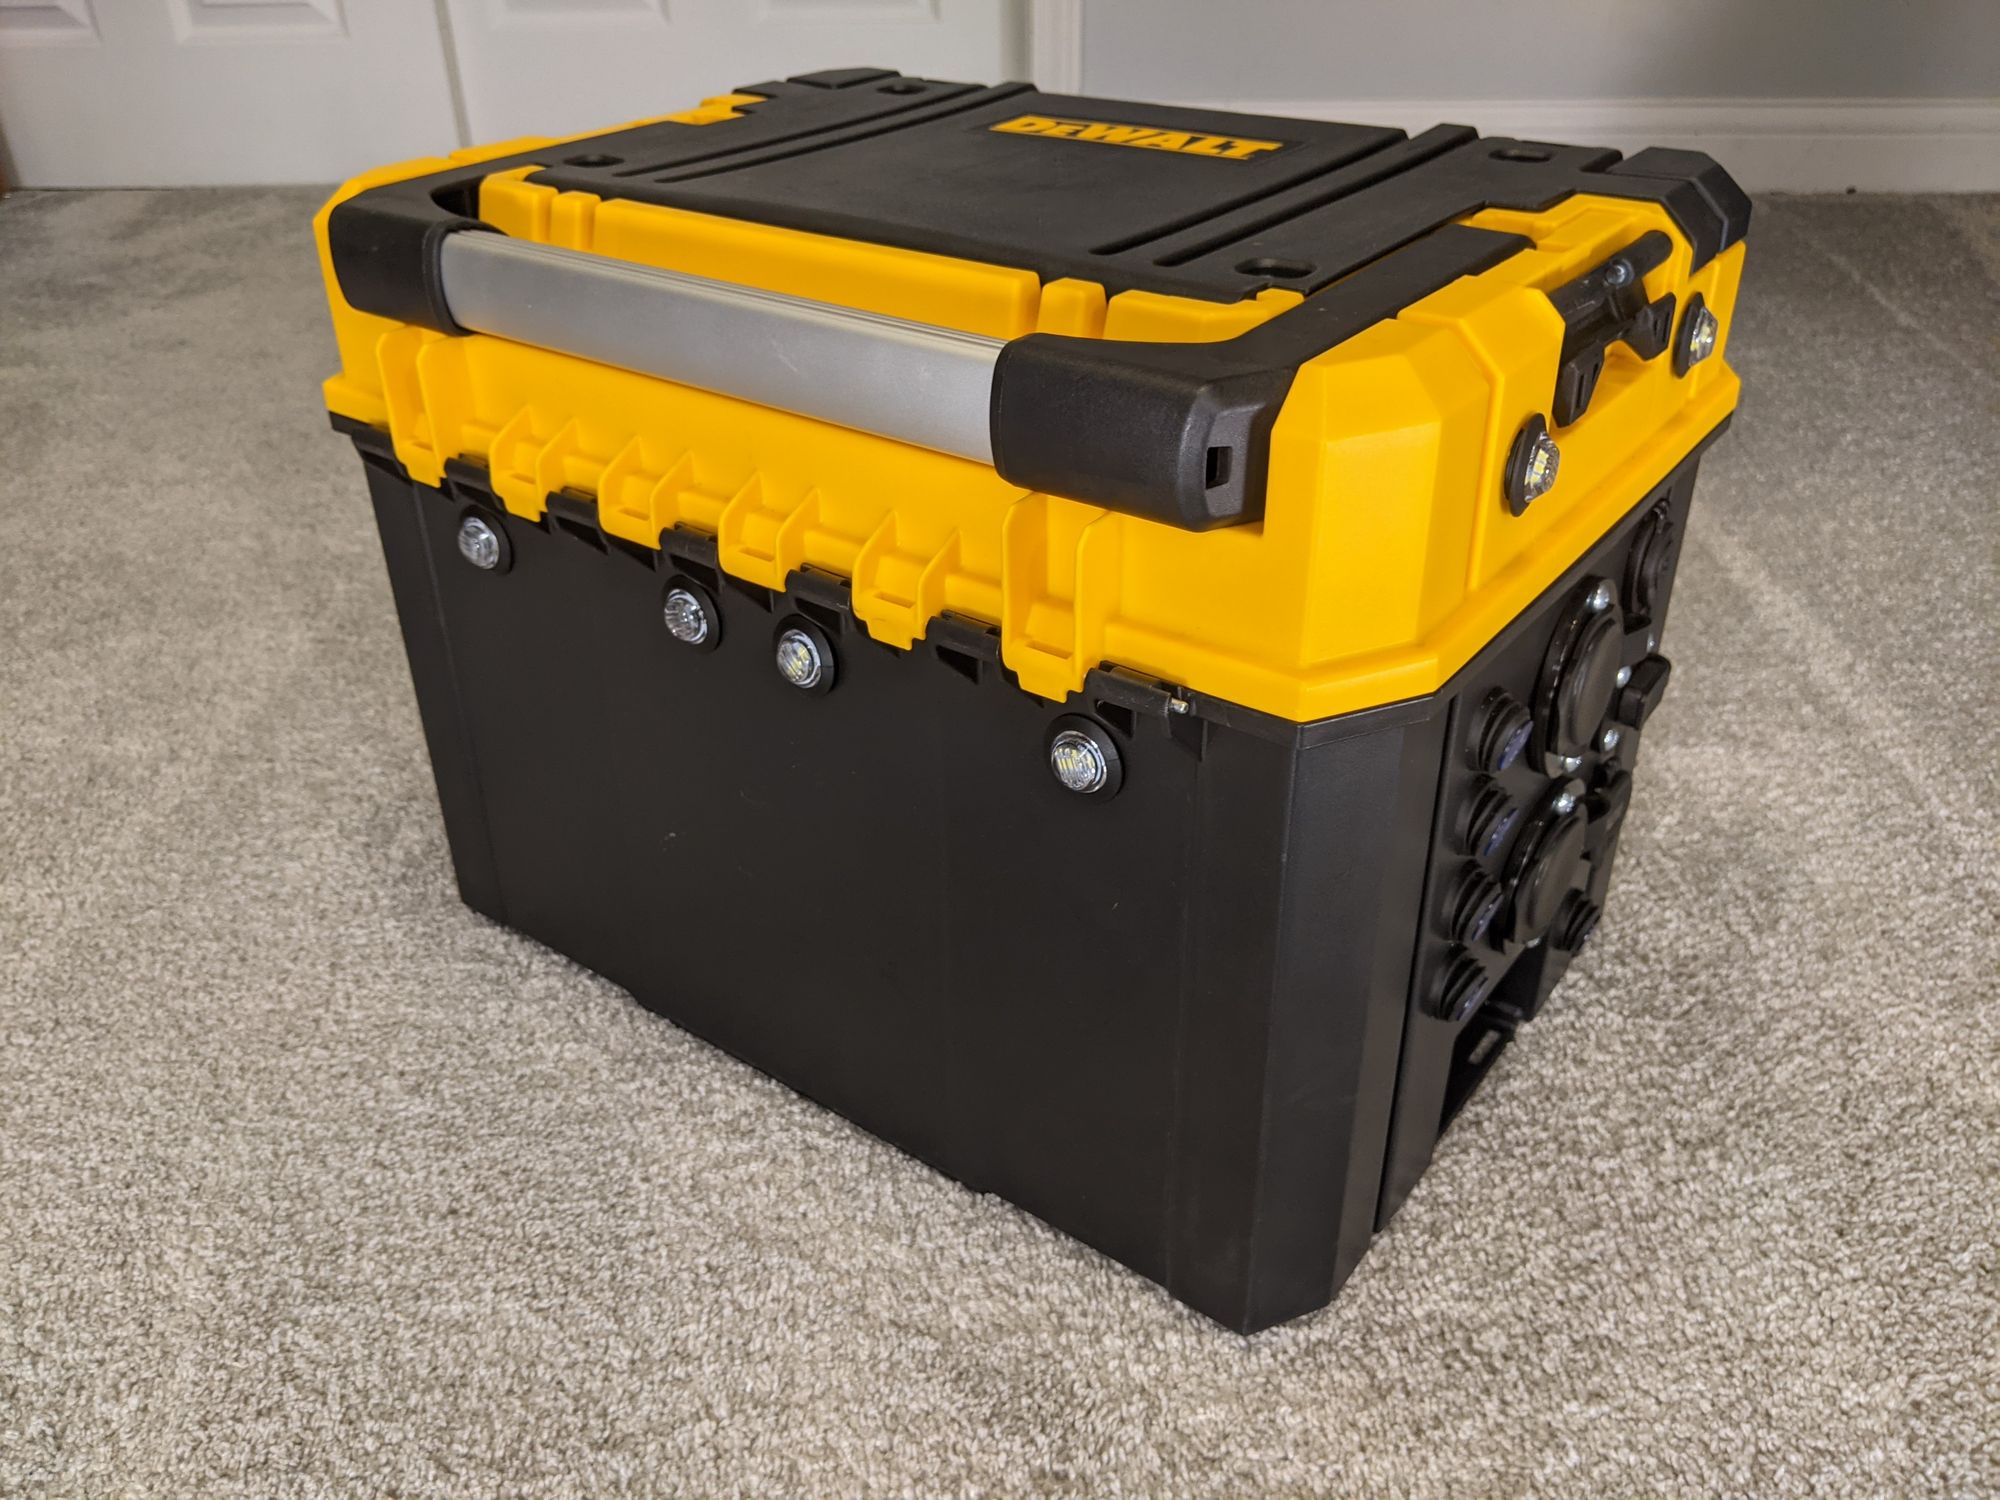
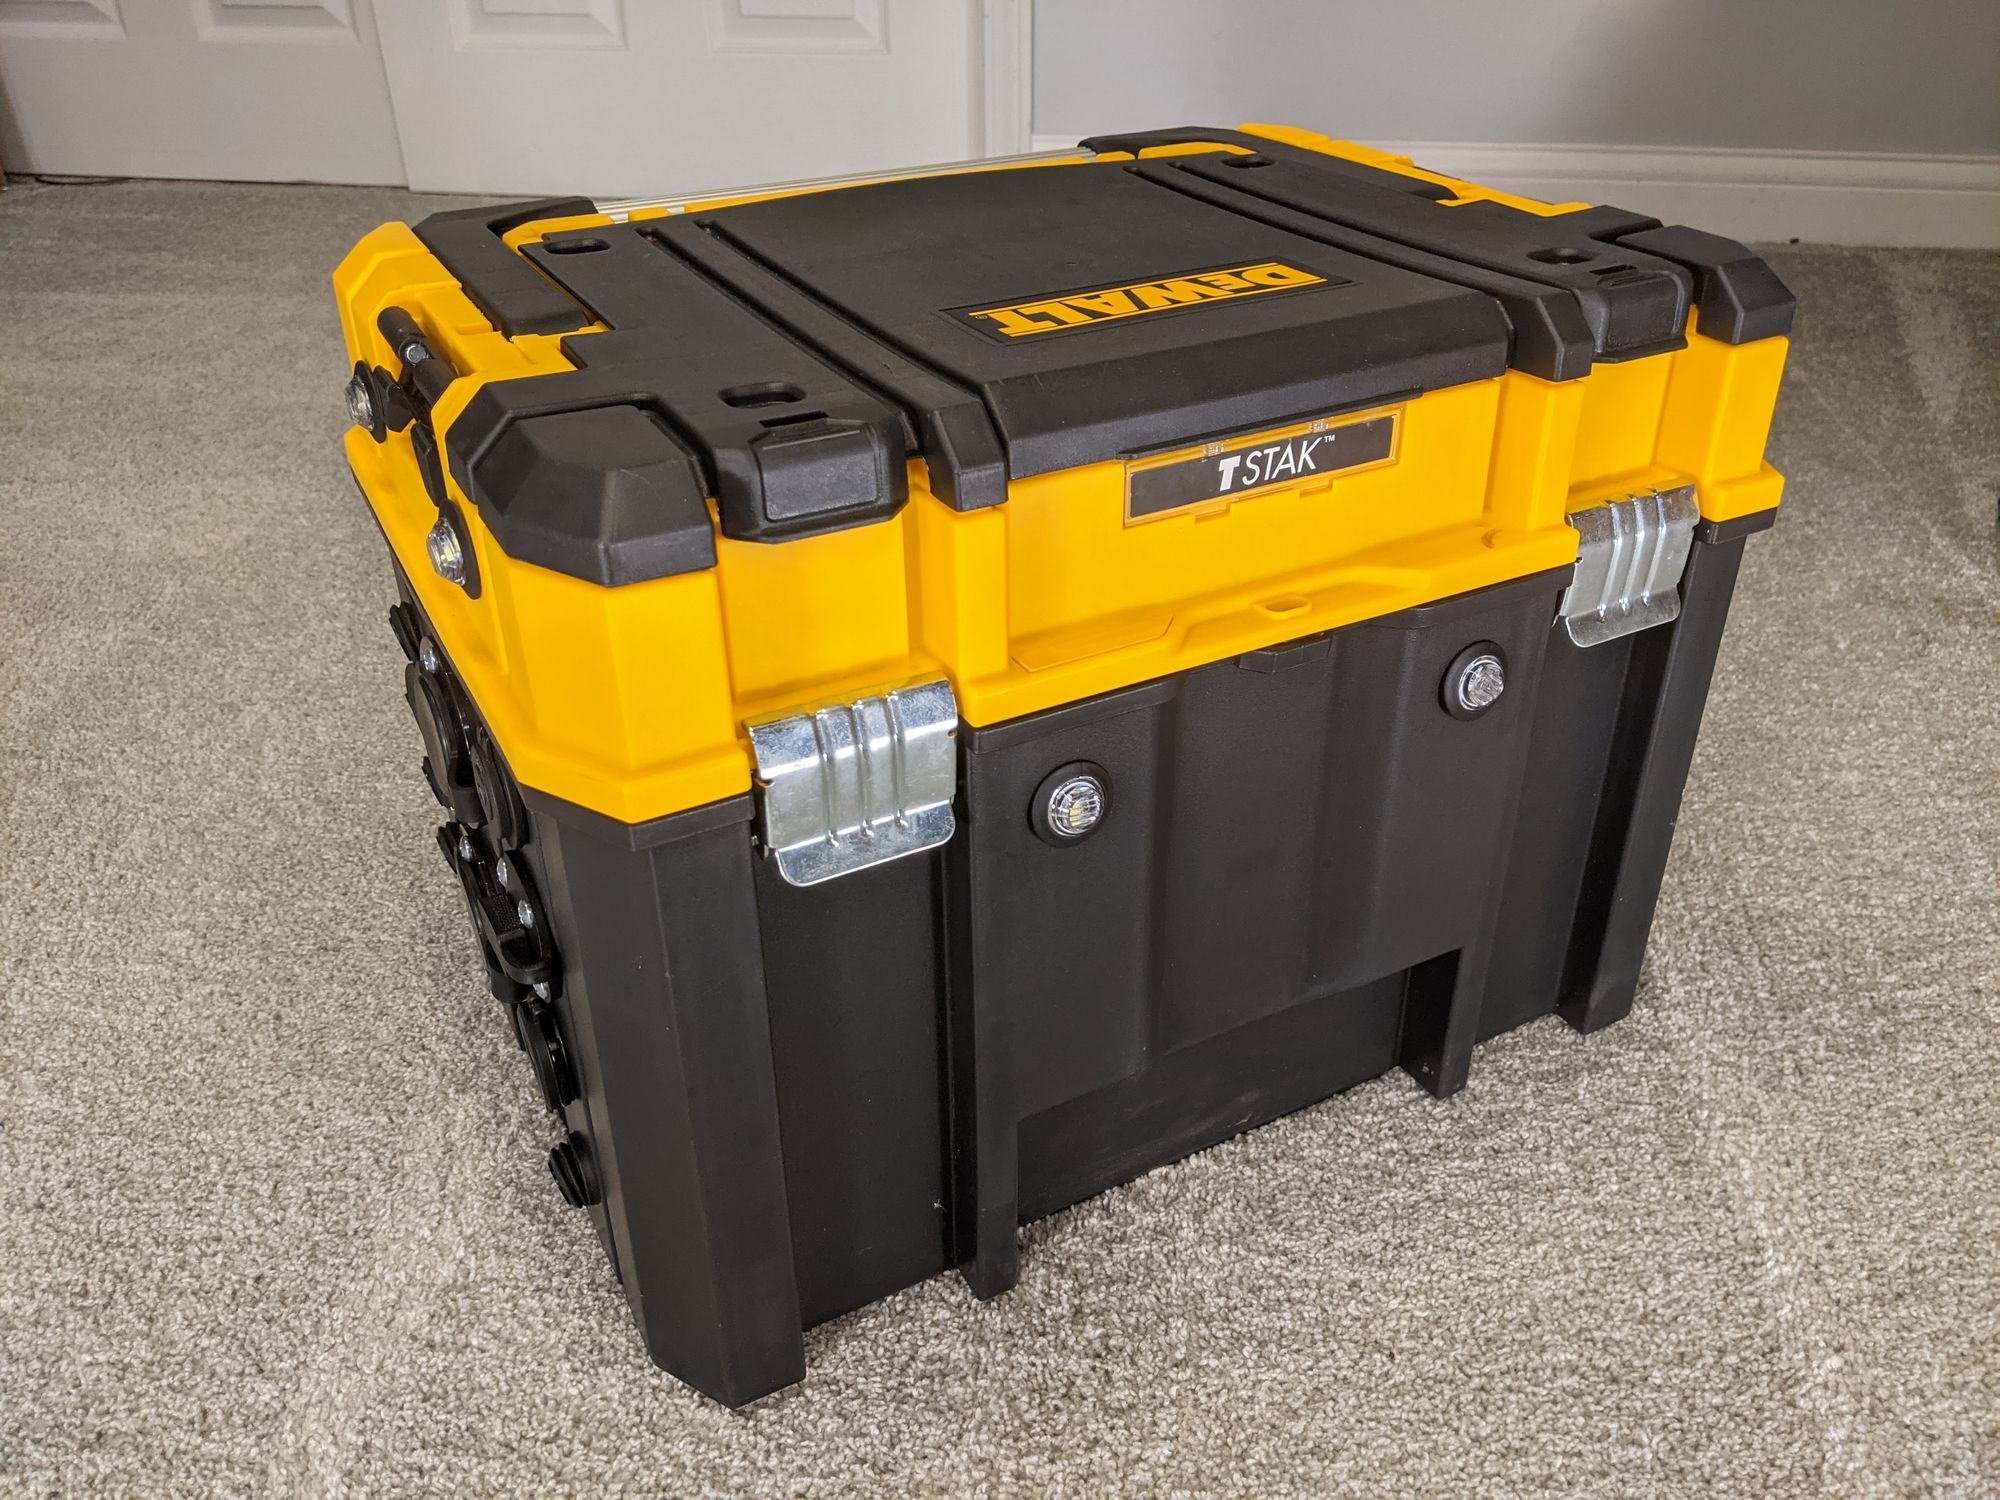
Choosing a Box
Size, Portability, Water Resistance
The box I used was purchased on a whim at our local Rural King store. While it does perfectly fit all of the gear I wanted to include, it does have drawbacks. First off, it with all of the components inside and the one handle it has, it isn't super portable. It is quite heavy and is a little awkward to lug around. Looking back, I wish I would have found a box with two handles on the side, or maybe even wheels. I'm also not a big fan of the "stackable toolbox" design, which gives it extra indentions that use up valuable space on the walls and inside the box. If I opted for a larger inverter and needed a larger box, I would definitely want wheels on the box.
My box's first use was on a weekend houseboat trip on Dale Hollow Lake. I was a little worried about waterproofing, as this toolbox is not water resistant, but water didn't cause any issues. It was used for lighting, to power a portable air pump in order to inflate tubes, and to recharge a Milwaukee radio and phones, all of which it excelled at. If you are considering buying a waterproof box, remember that the inverter does need airflow for cooling. I haven't put the inverter under sustained, heavy loads yet, but when I do I will likely open the box to allow the cooling fans to do their job.
Choosing a Charger
Chemistry Compatibility, Charging Speed
With a battery as large as the one I chose, the average 1 A battery charger would be very slow at fully recharging a battery. Aside from the charging current, you will need to make sure the charger supports your battery's chemistry (in this case, LiFePO4). The Noco 5 A charger was sufficient for my needs and was especially helpful once when my car battery was completely dead and needed nursed back to life.
I hope this overview was helpful and can guide you when building a power box of your own! If you have any questions, feel free to leave a comment below.